FX40 with monitor

Park NX-TSH

AFM System for Ultra-large and Heavy Flat Panel Displays at Nanoscale

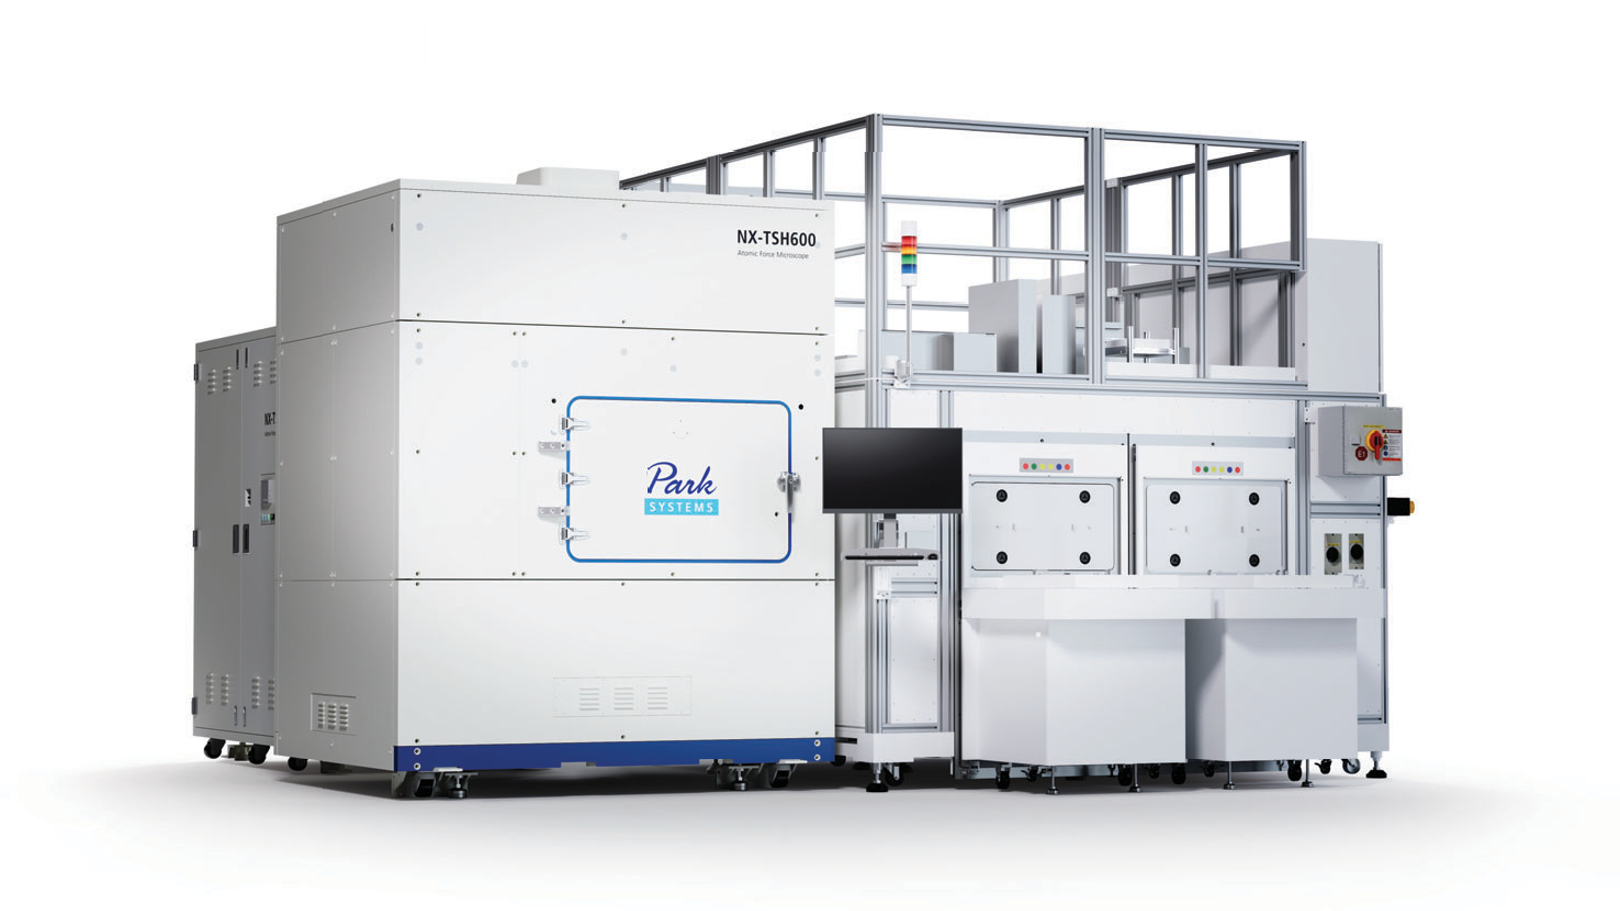
Meeting the growing demand for Atomic Force Metrology in large flat panel displays, Park NX-TSH tip Scan Head adeptly handles nanometrology for samples over 300mm. Its Tip Scanning Head and gantry-style air-bearing stage enable precise roughness, step height, and critical dimension measurements. As a highly accurate and non-destructive method, atomic force microscopy with Park NX-TSH delivers reliable, high-resolution AFM images for OLEDs, LCDs, photomasks, and more.

The Automated AFM system for Ultra Large and Heavy Flat Panel Displays at Nanoscale

As the demand for Atomic Force Metrology for larger flat panel displays increases, Park NX-Tip Scan Head overcomes nanometrology challenges for samples over 300mm. The Tip Scanning Head and gantry style air-bearing stage allows Park NX-TSH to accurately image roughness measurement, step height measurement, critical dimension measurement. Atomic force microscopy is the most accurate, and non-destructive, method of measuring samples at nanoscale and with Park NX-TSH, reliable, high resolution AFM images can be obtained on OLEDs, LCDs, photomasks and more.

The automated Atomic Force Microscopy (AFM) system for ultra large and heavy flat panel displays at nanoscale. As the demand for Atomic Force Metrology for larger flat panel displays increases, Park NX-Tip Scan Head overcomes nanometrology challenges for samples over 300mm. The Tip Scanning Head and gantry style air-bearing stage allows Park NX-TSH to accurately image roughness measurement, step height measurement, critical dimension measurement. Atomic force microscopy is the most accurate, and non-destructive, method of measuring samples at nanoscale and with Park NX-TSH, reliable, high resolution AFM images can be obtained on OLEDs, LCDs, photomasks and more.

The Fully Automated Tip Scanning Head for OLED, LCD, and 2D Encoder Sample

In the realm of large panel display manufacturing, especially for samples exceeding 300 mm, the need for precise metrology is paramount. This sector faces the challenge of accurately measuring and analyzing nanoscale features on large substrates, a task crucial for ensuring the quality and performance of final products like OLEDs and LCDs. Park Systems responds to this challenge with specialized AFM for large panel scanning.

  • The Most Reliable Method for Large sample Analysis

    As AFM metrology demand for larger flat panel displays increases, Park NX-TSH overcomes nanometrology challenges of large and heavy samples with the Tip Scanning Head and a gantry style air-bearing stage.

    The Most Reliable Method for Large sample Analysis
  • Designed for Next-gen Flat Panel Displays

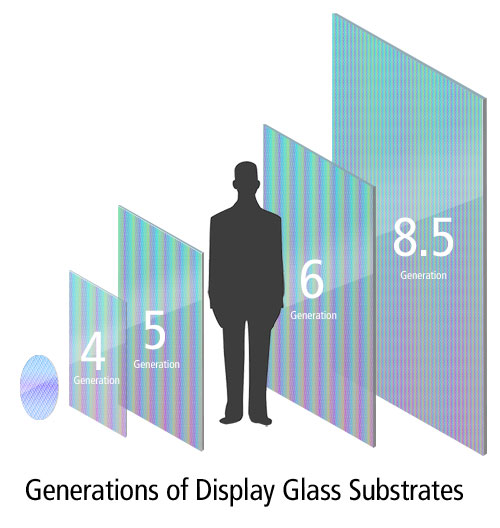
    Park Systems has scaled up their AFM tools for Gen8+ and all large flat panel displays using Park NX-TSH (Tip Scanning Head) system, and is the fully automated Tip Scan Head for large sample analysis. It was developed specifically for manufacturers setting up fabs to produce next-generation flat panel displays with the objective to overcome the 300mm size threshold limit.

    Designed for Next-gen Flat Panel Displays
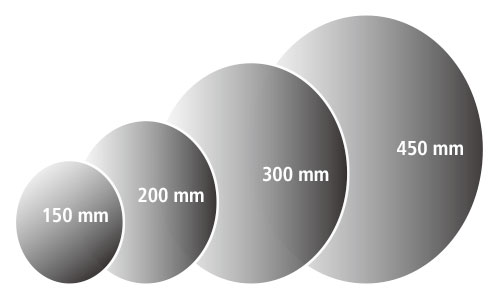
  • Changes in the Silicon Wafer Diameter

    Using conductive AFM, Park NX-TSH can measure the sample surface with optional probe stations that contact the sample surface and provide current into small devices or chips of wafer level. Park NX-TSH is for a 2D encoder sample with conductive AFM for electric defect analysis by integrating micro probe stations.

    Changes in the Silicon Wafer Diameter
  • Automated Tip Scanning Head System

    Park NX-TSH tip scanning head system offers enhanced flexibility and precision for manufacturers involved in producing next-generation flat panel displays. By fixing the sample onto a chuck and employing a gantry-mounted tip scanning head, it effectively overcomes limitations related to sample size and weight. Developed specifically to address the challenges faced by fabs striving to surpass the 300 mm threshold limit, the Park NX-TSH provides a comprehensive solution. With the capability for conductive AFM, it enables precise measurement of sample surfaces, further enhanced by optional probe stations that facilitate current provision into devices on the wafer.

    Automated Tip Scanning Head System
  • Automatic Measurement Control

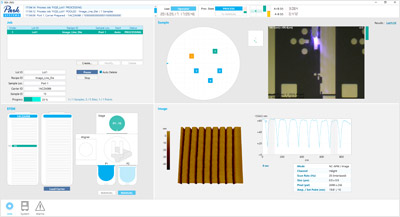
    The NX-TSH is equipped with automated software that makes operation nearly effortless. Just select the desired measurement program to get precise multi-site analysis with optimized settings for cantilever tuning, scan rate, gain, and set point parameters. Park's user-friendly software interface gives you the flexibility to create customized operation routines so you can access the full power of the NX-TSH and get the measurements you need. Creating new routines is easy. It takes about 10 minutes to make one from scratch, or less than 5 minutes to modify an existing one.

    Automatic Measurement Control

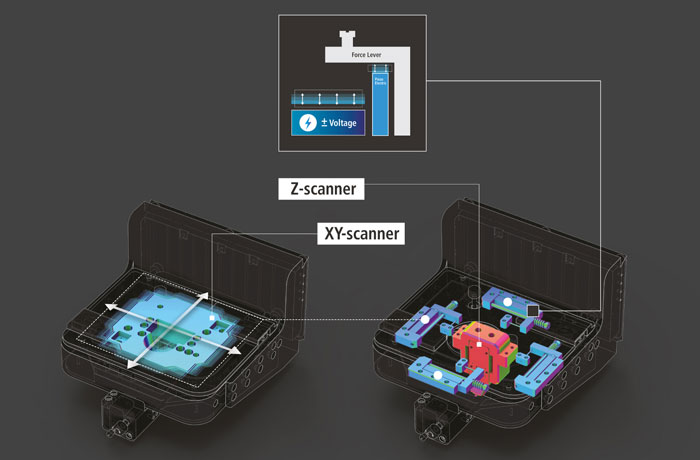
100 µm x 100 µm Flexure-Guided XY Scanner with Closed-loop Control

The XY scanner consists of symmetrical 2-dimensional flexure and high-force piezoelectric stacks that provide highly orthogonal movement with minimal out-of-plane motion, as well as the high responsiveness essential for precise sample scanning at the nanometer scale.

15 µm High Speed Z Scanner with Low Noise Position Sensor

The NX-TSH provides you with unprecedented accuracy in topography height measurement by utilizing its ultra-low noise Z detector instead of the commonly used Z voltage signal that is non-linear in nature. This industry leading low noise Z detector replaces the applied Z voltage as the topography signal.

Long Range Air-bearing XY stage for AFM analysis of industrial samples larger than 300 mm.

Park NX-TSH overcomes nano metrology challenges of large and heavy samples with a Tip Scanning Head and a gantry style air-bearing stage and produces high resolution images. The air bearing stage technology provides faster access and a fully automated system, improving productivity.

Applications

Perfect for Diverse Applications